Part 3: Personalization and collaboration
3.1 Further configuration
To get the most out of UvA AI Chat, it's worth configuring it to match your preferences. To do this, go to the settings by clicking the person icon at the bottom left of the screen. Here, you can immediately set your preferred theme (light/dark). Next, click on 'Settings,' then on 'Personalization' for the most important personalization options:
- 'Memory Creation': Enable this to let UvA AI Chat save information about your previous prompts and conversations. This allows the AI to remember context from earlier interactions, such as your field of study (e.g. astronomy) or your hobbies (like cooking).
- 'Memory Context': For the chat to actually use your stored 'memories' in new conversations, you'll also need to enable this option.
- 'Memory Management': Here, you can review and manage the information UvA AI Chat has stored about you. You can adjust or delete saved memories at any time.
- 'Custom Instructions': Specify how you want the AI to behave or the writing style it should use by default. These instructions are applied in the background to every conversation you start (unless you're using a persona).
Practical example of 'Custom Instructions'
In the 'Custom Instructions' field, you might enter something like:
"Always answer in Dutch. Write your responses as an academic advisor: supportive, critical, and focused on improving my work. Use formal language and avoid excessive jargon. Structure complex answers with bullet points for clarity."
3.2 Customized interaction: working with personas
Personas are an advanced feature that let you instruct UvA AI Chat to take on a specific role or character during a conversation. This makes interactions more focused and the output better aligned with your context.
The basics: definition and purpose
Personas are predefined 'characters' or 'personalities' that the AI can adopt to provide directly relevant answers. By giving a persona clear instructions, you set its role, expertise, tone, background knowledge, and function - for example, as a critical reviewer, subject-matter expert, or helpful tutor. Personas are especially useful for recurring tasks or scenarios where you want to use the same prompts repeatedly. This ensures you get consistent, relevant answers without having to re-enter all your context and instructions each time. With personas, you can have the AI communicate from a specific perspective, expertise, or knowledge area. Essentially, a persona is a complex, pre-saved 'master prompt' that shapes the AI's behavior for an entire conversation.
Standard personas
UvA AI Chat comes with several standard personas you can use right away, including:
- Course Manual Creator: Collaborates with you to create a course manual.
- Socratic Coach: Uses the Socratic method to help you deepen your understanding of a topic without giving direct answers.
- Technical Assistant: Supports users with technical questions by providing clear explanations and practical solutions related to UvA AI Chat.
- Language Assistant: Checks texts and offers tips on grammar, spelling, and style to improve language skills and optimize usage.
Creating your own personas: a step-by-step guide
Building your own tailored personas can take your AI interactions to the next level. This lets you set up the persona's behavior exactly the way you want. Go to the mask icon in the left sidebar to access "Personas," then choose the option to create a new persona. Follow these steps:
- "Persona title": Enter a short, recognizable name for your persona.
- "Persona description": Briefly describe the role and purpose of the persona (this does not affect its behavior).
- "Which AI model do you want to use?": Select the underlying language model (e.g., GPT-4o) for your persona. See section 4.1.
- "Choose a conversation style": Pick a style. 'Balanced' is often a good starting point, but you can also select 'Creative' (open, imaginative responses) or 'Precise' (concise and factual).
- "Describe your persona and its behaviour": This is the key step. Give a detailed description of the tone, expertise, and behavior you want your persona to have. You can adapt a preset or fill in this field manually - be as specific as possible.
- "Send opening message": Have your persona always open with the same opening message, to prompt ideas or to illustrate what the persona can help with. Ideal for in Groups!
- "Upload files to enhance your persona's resources": Add specific documents, such as manuals or style guides, that your persona should use as a knowledge base.
- "Save": Click "Save" to store and activate your persona.
Practical example of a custom persona
A researcher wants an AI assistant that helps critically review her draft articles. She creates this persona:
- Persona title: "Critical Research Assistant"
- Persona description: "Analyzes academic texts for logical consistency, weak arguments, and unclear phrasing"
- Describe your persona and its behaviour: "You are an experienced peer reviewer for an academic journal. Your tone is critical but always constructive. When giving feedback on an uploaded text, structure your answer in three parts: 1) a brief summary of the author's main argument, 2) a list of strengths, and 3) a detailed list of points for improvement, including specific suggestions for rephrasing and questions that challenge the author to reflect on weaknesses in their reasoning."
3.3 "Groups": collaborating and sharing with others
The "Groups" feature makes it easy to work together on shared projects. It's ideal for teamwork - whether you're conducting research, preparing a joint presentation, or working on any other project. Within a group, you can easily share files, see each other's prompts, and work toward the same goals. Find the "Groups" function via the two-person icon in the left sidebar.
To create a group, click the "Add Group" button. Fill in the following textboxes:
- Group Name: Enter a name for your group in the "Group Name" field. This is a required field.
- Group Description: Provide a description for the group in the "Group Description" text box. This is generally the purpose of the group.
- Members: Add the email addresses of the people you want to be members of the group. You can separate multiple email addresses with a comma.
- Owners: Enter the email addresses of the people who will be the owners of the group. These should also be separated by commas. These owners will be able to edit the group.
- Personas: If applicable, select the personas for the group. Tip! When given editing rights, you can also edit personas together.
- Prompts: If applicable, select any specific saved prompts for the group.
- Start and End Dates: Choose a start date and an end date for the group using the date pickers.
- Save: Click the "Save" button to finalize the creation of the group.
By creating a group, you can share specific chats, personas, or prompts. You control whether added members can only use the personas ('Members') or also edit them ('Owners'). As a teacher, for example, you might add students as members so they can use a specific persona you've created. You can also set a start and end date for the group if needed. Good to know: as owner of the group, you can hide member visibility from others by toggling "hide members from each other" in the options menu
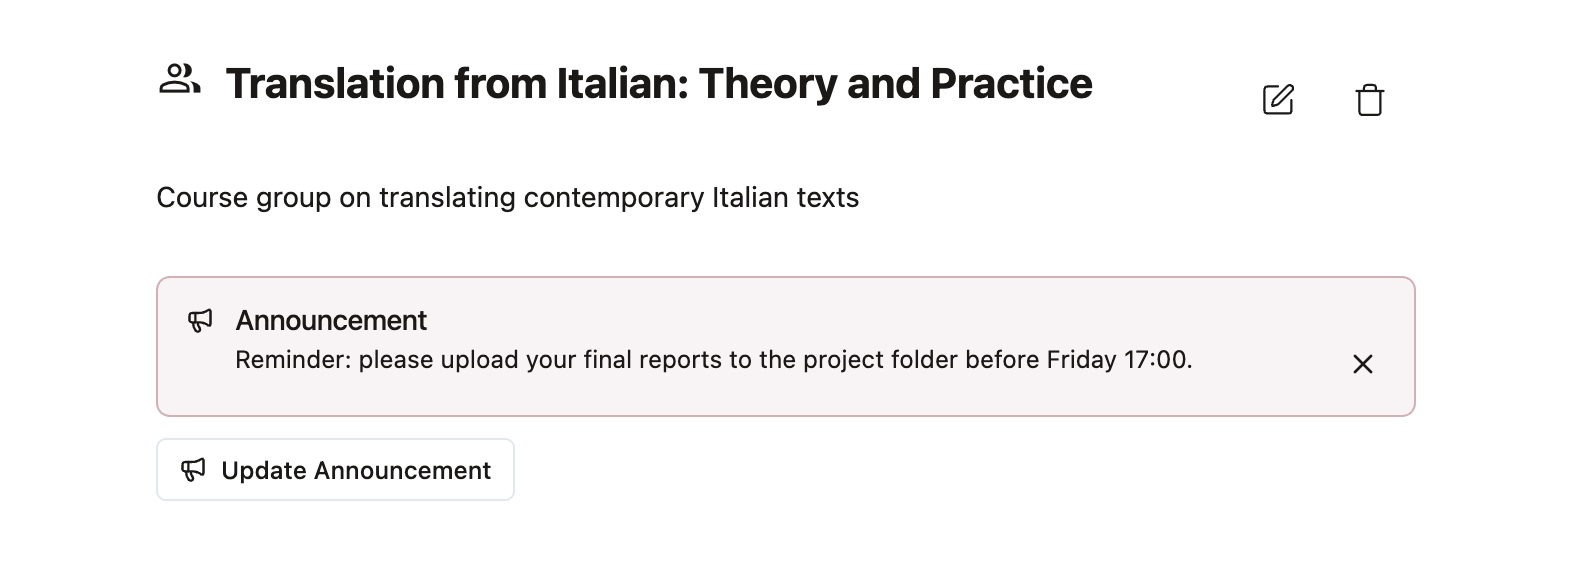
Tip! You can now share annoucements with members of your group by using the button "Post Announcement".
3.4 "Projects": your organized workspace
Under "Projects" (the folder icon in the left sidebar), you can set up your own projects. This acts as a digital container for all materials related to a specific task or research project. Use it to keep your chats organized, especially if you have multiple conversations on the same topic. To get started, click '+ Add Project' at the middle of the screen. Within a project, you can collect chats, prompts, and personas in one place. This lets you easily navigate back to earlier prompts and responses, making it simple to pick up right where you left off.

When setting up the Projects folder, you can assign a title, choose an icon and color to visually distinguish it, and add custom instructions. Custom instructions define specific guidelines or preferences for how the assistant should behave or respond within that project, helping tailor outputs to your needs.
For all Project-specific functionalities, see below.
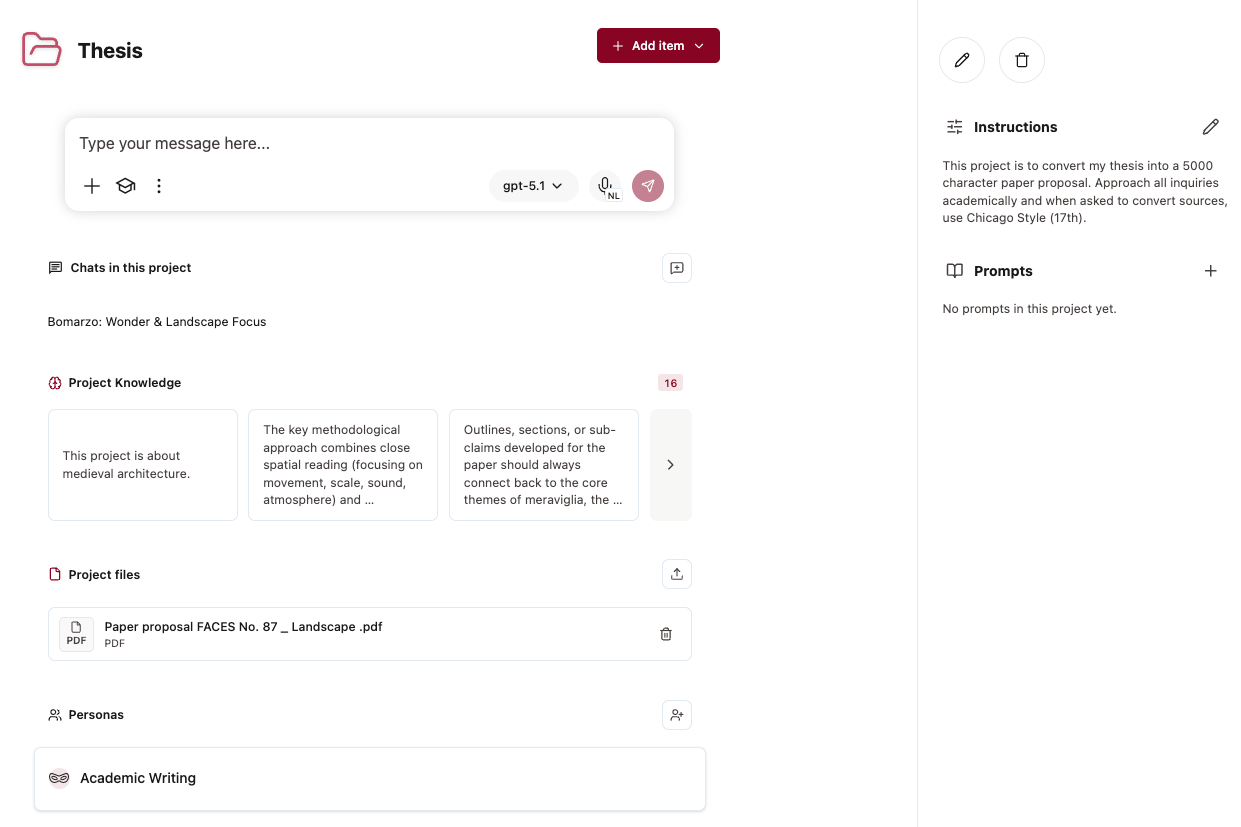
+: Upload documents to this specific chat, or the entire project. The project will save that file under "Project files". You can also access your Promp Library here to select frequently used prompts.
Chats in this project: Access and revisit previously used conversations from within the project. You can also import existing chats from the general chat using "Add existing chat".
Project knowledge: This feature stores key information, insights, and decisions related to your project so the assistant can use them as ongoing context in future chats. This helps maintain consistency, avoid repetition, and ensure that responses stay aligned with your project’s themes, methods, and goals.
With the Add card function, you can manually create new knowledge entries by saving important notes, guidelines, or conclusions. Each card represents a single piece of remembered information. For every card, you can edit the content, pin it to give it greater importance in the assistant’s context, or hide it to exclude that information from being used in responses.
Project files: See what project files are being used in this project and add new documents.
Personas: See what persona's you have access to from within this project and add new ones.
Instructions: Give the project assistant extra context and instructions to better adhere to your needs.
Prompts: See what prompts you have access to from within this project and add new ones.